I always feel bad when the tomatoes from my garden rot on the counter waiting in vain for me to chop them up into salsa or boil them into a marinara.
I have the best of intentions in May when I ask my husband to plant boccu tomatoes in our garden, but come the sticky hot months of July and August and the appeal of sweating it in the kitchen has lost its luster. And the rotting tomatoes are attracting flies.
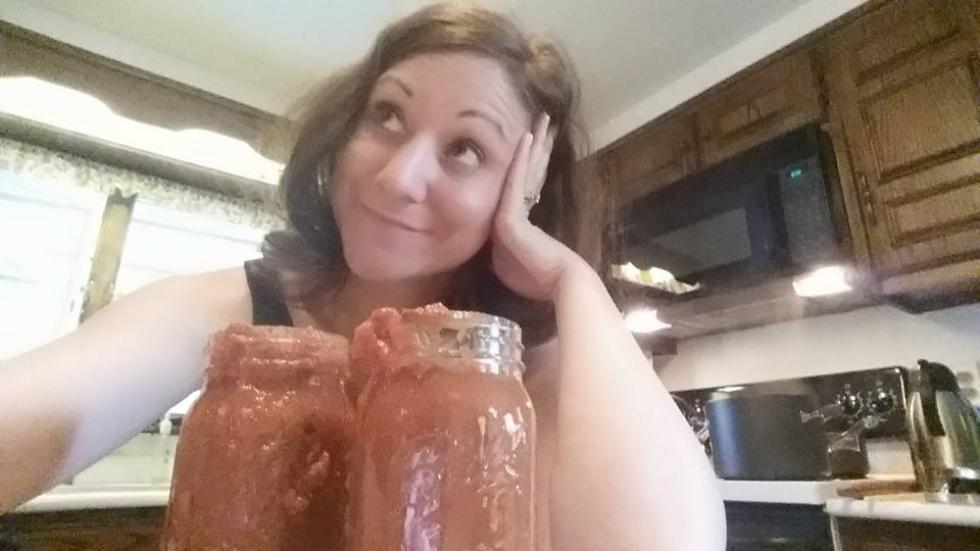
So this year I vowed to treat my red deliciouses to a better fate. I will can them.
Canning is not something I ever intended to do. For a long time it seemed utterly pointless. I can buy a can of tomatoes at a store for 69 cents or I can pick, boil, peel, sterilize my way to a can of home-grown tomatoes — a process that takes at least an hour, if you know what you’re doing. The choice has always been obvious: canned tomatoes, aisle 16.
But lately I’ve gotten more serious about my food. I don’t always have the time to cook, so when I do, I want it to taste the best it possibly can. Using local, fresh ingredients is about 80 percent of how wonderful something will taste. Which means tomatoes from my garden will taste better in a can than the ones from the store, right?
To get prepared for the bounty I decided to try canning at least once before the harvest. Here’s how it went down, my half-assed guide to canning.
1. Supplies
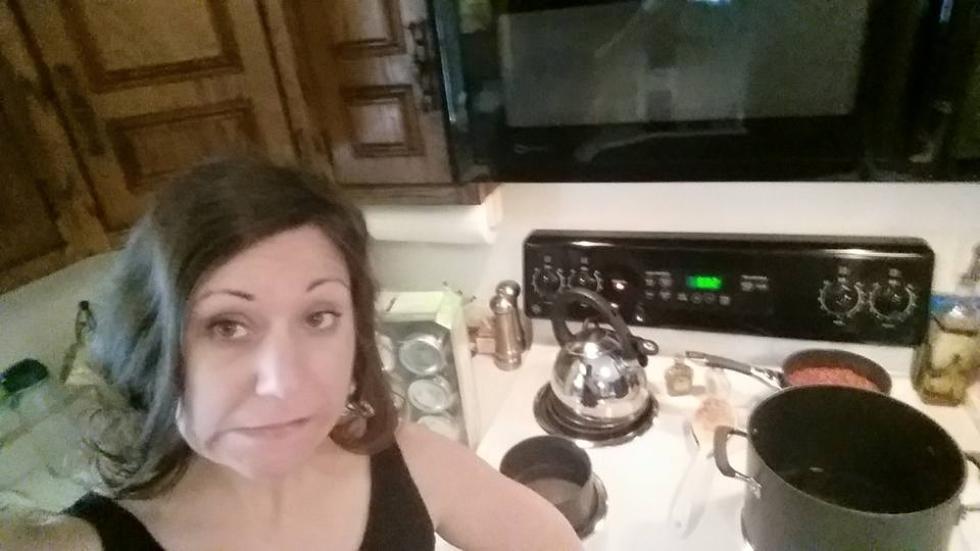
To can tomatoes, you need cans. The only mason jars I have at home are a couple that were fashioned into “red neck wine glasses.” I went to Big Y and bought a dozen 12-ounce mason jars for $10.99. There was a canning starter kit for $10 sitting next to the jars. It had a contraption for removing jars from hot water, a drying mat, a poker or some such, a funnel, a metal rack. Seemed to me I could find random pieces around the house that could do the trick, so I skip it. Back in my kitchen I already have the meaty marinara sauce I prepared with my family the night before heated up and ready to be canned. It will be nice to crack open a jar of homemade sauce in the middle of winter, I think.
2. Research
To learn about canning, I hit Google and watch some Youtube clips. One of the first things I learn is that you cannot can homemade sauce. The acidity level necessary to kill off bad bacteria isn’t high enough — especially if it’s a meat sauce. Only a pressurized canning machine can safely seal premade sauce and all I have is a big pot of boiling water on my stove top. I decide to can the meat sauce anyway because I have to put it in something and I’m all out of plastic containers. I’ll just have to eat it within the next week or so. To safely can tomatoes, pick, blanch, remove the skins and stuff them into a jar with some water and 2 tablespoons of lemon juice to goose the acidity and help your tomatoes last.
3. Sterilizing and set up
This step has been the stumbling block for my starting to can. Having to clean something clean goes against my laissez faire attitude toward domestic duties. I find a list of things I’ll need to get canning and I’m a little surprised how many items are on it and how many of them I don’t have. I’ll need: a stock pot, a medium pot, a small pot, a tea kettle, a spoon, a funnel, a jar remover, clean towels, a wooden spoon, and a rack that will fit in the stock pot.
The rack in the stock pot stumps me. Also I have no stock pot. I grab the largest pot I have and start pawing through drawers looking for something small with holes in it that will keep the jars from making contact with the bottom of the pot — and breaking — that can stand up to being boiled for 45 minutes. I find the baking rack from an old toaster oven and am psyched that it fits. I find a pair of rubber tipped tongs and use them in place of the jar remover. That starter pack can suck it.
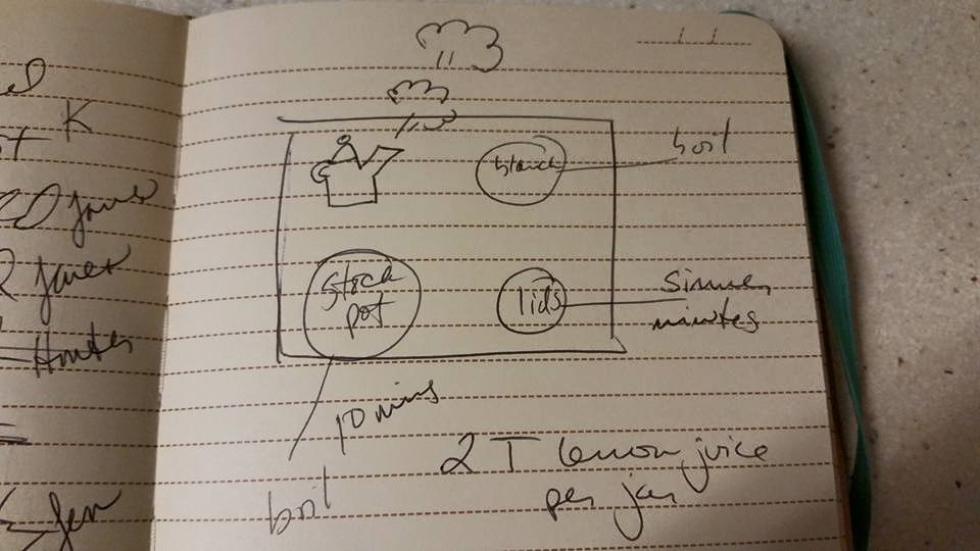
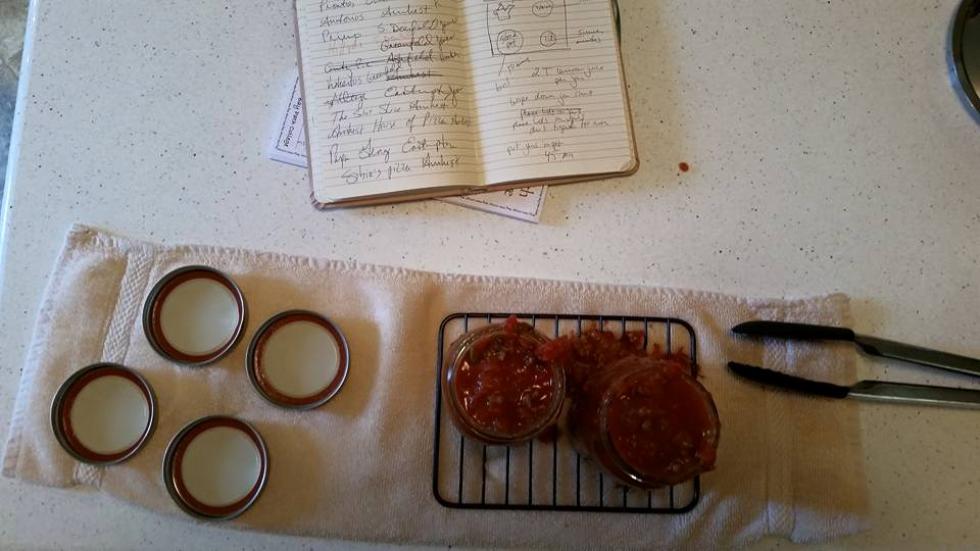
With all these pieces, I draw a chart to map out where my pots are going to go, what I’m going to do with them, and for how long.
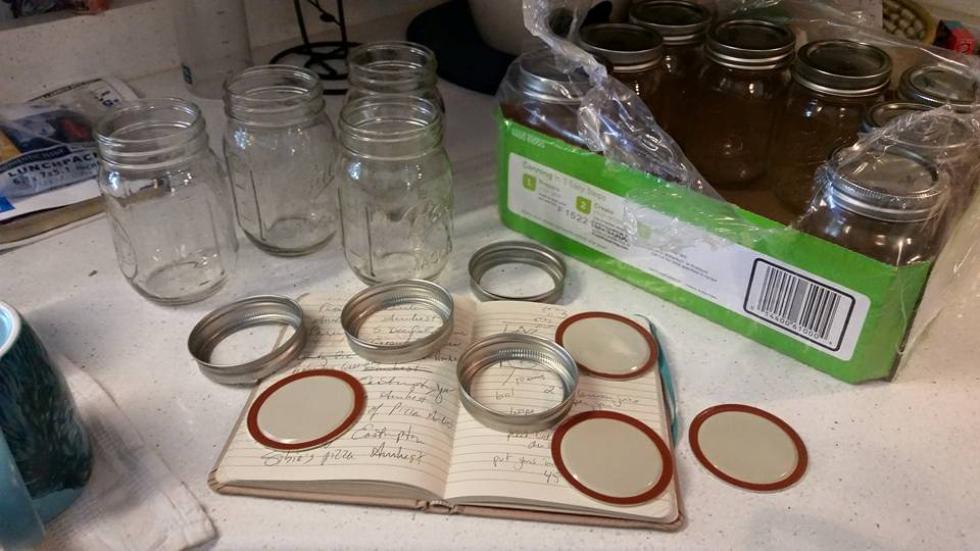
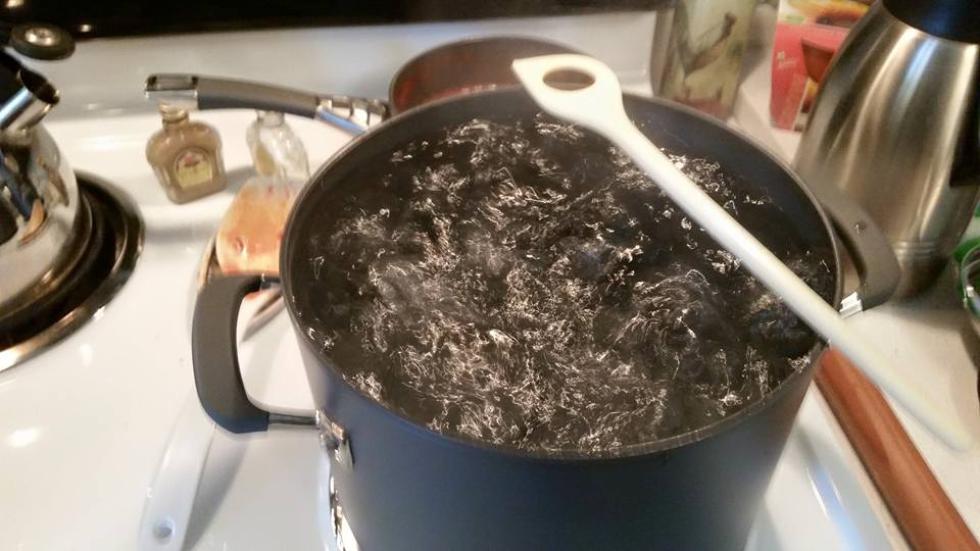
4. Bring to a boil
I bring the water in the biggest pot to a boil and get my tiny pot going, too. I decide to skip the tea kettle full of water because I don’t want any tea. I toss four lids into the small pot and let them simmer for five minutes. You can’t boil the lids, I learn, because the bubbles force the lids to float and miss out on any of that sweet hot water sanitation. When they’re done, they go on a clean, dry towel. I go to lower my glass jars into the pot and realize why a jar remover would be handy. I need to fill the jars with boiling water so they’ll sink and the rubber tongs slip around the glass as I try to hold the jars steady. Only two jars fit in the pot at a time and the rims of each are sticking out of the water. I can see why a stock pot would be ideal. I run the tap until the water is hot and pour some into the pot. The boil evaporates and now I understand why having a tea kettle of boiling water is necessary. Still, I don’t fill the kettle because I’m in the clear now.
5. All clean … kind of
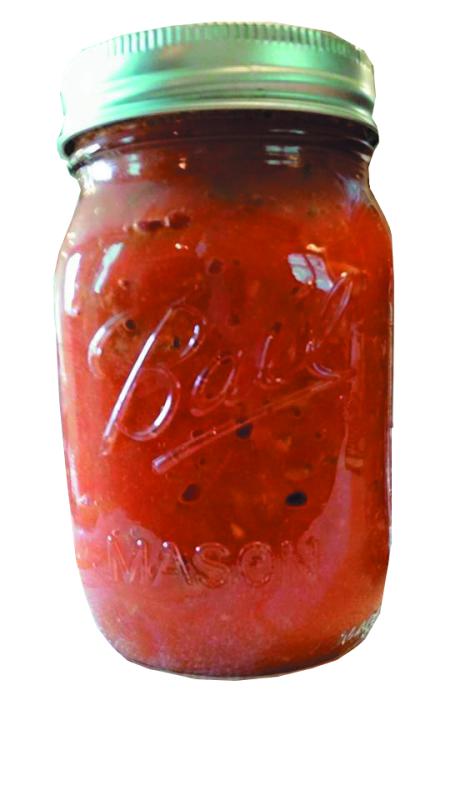
After 10 minutes I take the jars out, emptying the scalding water inside back into the boiling pot. A lot of the water runs down the tongs and along my arm. It burns, but I successfully get the jars to rest on a dry towel. Steam rises off the glasses and I’m impressed that I was able to get anything so clean, even though it kind of started out that way. Time to pour the sauce into the jars. I pick up the medium pot with the warm sauce and hold it over the two jars sitting next to each other on the island. A funnel would certainly be nice at this point and maybe I have one somewhere, but in the interest of being lazy, I decide to just go for it. Sauce slops into the jar with a splash and chunks of tomato and beef slide down the outside of the jar in thick glops. I sloppily fill both jars up to about an a half inch from the top. As I look down on the mess I wonder if I should empty the jars and start from the beginning so that everything will be sterile again. The thought passes and I wipe the jars down with paper towels dipped in boiling water before I screw on the lids.
6. Can it
Now all I have to do is put the jars back into the boiling water and let them sit for 45 minutes. I take the jars by tongs, but they can no longer support the weight of the jars. I use a towel to carry the jars over to the pot and drop them in, squeezing the tongs around the lids hard. The lids stick defiantly out of the water. I suck it up and put the kettle on. The water boils quickly and I pour some into the pot to cover the lids. I keep the kettle full and hot as I return to fill the pot several times over the course of canning to restore the water and dodge bursting boil bubbles.
7. Done
Forty-five minutes are up and I turn off the boil and pluck out the jars with my tongs. The jars are a gleaming and beautiful red. I beam with pride until I notice the scads of bubbles in the sauce, something the directions had asked me to avoid by poking the contents with the end of a spoon before screwing on the lid. All that’s left is clean up. I look back at the open package of mason jars, 10 of them still in the pack, and I’m pretty sure that’s where they’ll stay all summer long.
Lessons learned
You can’t can homemade sauce. The acidity isn’t high enough to kill off dangerous bacteria.
To avoid a huge mess and stained dish towels, you should use a funnel when pouring contents into mason jars.
Investing in a jar extractor is probably a good idea if you’re going to can more than once.
The pot you use to can, can never be too big.
Start the tea kettle boiling. You will need to add hot water to your pots along the way.
I hear there’s a two-for-one sale on canned tomatoes at my neighborhood grocery store.•
Contact Kristin Palpini at editor@valleyadvocate.com.