You can smell fall in the air — and in Massachusetts the aroma is a lot danker than usual.
 This October will mark the first major outdoor weed harvest since people ages 21 and up were given the green light to legally grow marijuana in Massachusetts on Dec. 15, 2016. In May, I wrote a how-to-grow guide and it feels fitting to follow that up with a how-to on harvesting. I spoke with cannabis artist Marty Klein of Easthampton and medical marijuana consultant Ezra Parzybok of Northampton — the same duo that provided all that great grow advice in the previous column.
Just as there are many methods and best practices for growing marijuana, the same goes for harvesting it. Here’s a down and dirty (and sticky) primer on cutting, drying, and curing homegrown, outdoor weed.
“Trimming buds is very tedious,” said Klein, “so find some good music, get some friends, if you can, to help you, and just get down to it.”
When to Harvest
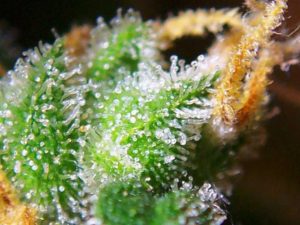
Knowing when to harvest is a lot easier than people think. There are three main methods: checking out the trichomes (most accurate), inspecting the hairs (pretty good), and looking at the calendar (s’all right). Trichomes are the tiny crystal structures packed with THC that make good weed look glittery. To get a good look at them you’ll need to observe the plant with a microscope, preferably something with a flashlight on it. Up close the crystals look like translucent hairs with tiny balls at the end. Zoom in on the balls and judge their color: if they’re clear, you’re not done growing; and if they’re all amber, you let the grow go on too long.
“One of the biggest mistakes of any grower to do is to harvest too early,” Klein said.
 The trichomes “look like golf balls on tees, or mushrooms,” he said. “When you’ve got about 20-30 percent amber, a lot of growers think that that’s the ideal mix for a more relaxing, but still strong strain or effect.”
Inspecting the hairs, aka pistils, is a bit simpler and like the trichomes, you’re looking for milky white and amber colors. When pistils first grow they are white, as they mature they turn amber. When 60-70 percent of the pistils have gone from white to brown, that’s the moment when you have the most THC in your flowers and your weed will be on the energetic side of the strain, Klein said. If you let it go longer, waiting until about 90 percent of the pistils have turned brown will provide a more relaxing weed.
And finally, the calendar. Your pot plants should be flowering for 60 days, so you can gauge readiness that way or if all else fails, harvest the first week of October. Most weed is ready by then and you’ll get your plants out of the ground before the frost hits, said Parzybok who recently finished writing a book on weed: Cannabis Consulting: Helping Patients and Practitioners Understand Medical Marijuana, which will be out in the spring of 2018.
The First Trim
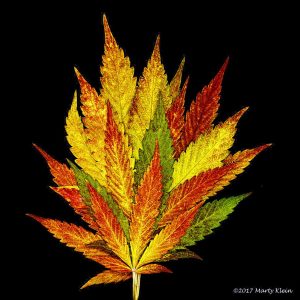
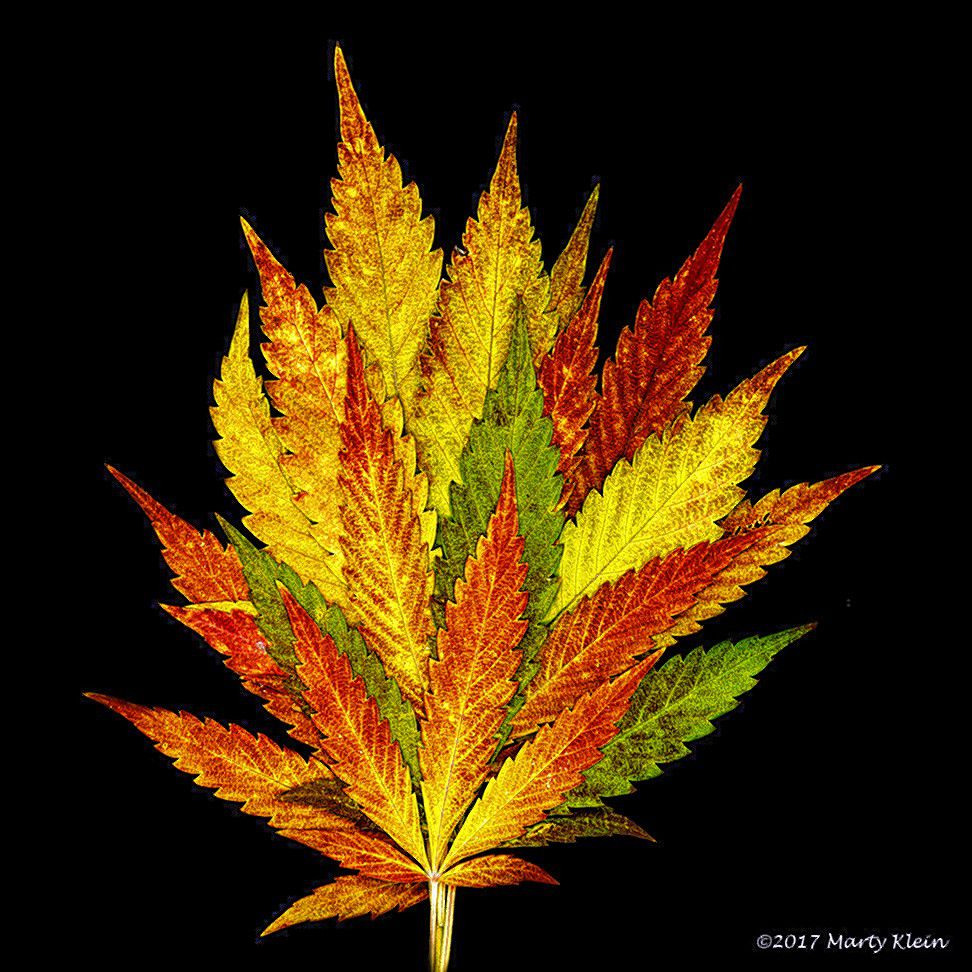
There are two trims to each harvest — the first is pretty straightforward: cut the branches off and chop the stalk, then get rid of the large fan leaves (the ones that look like traditional marijuana leaves). Parzybok recommends trimming some of the leafs from the plant while it’s still in the ground, then waiting a couple days to chop the whole thing down.
More MJ Coverage:
Growing Your Own Weed In Massachusetts: A How-To Guide
Local Marijuana Entrepreneurs Ready To Roll, Just Waiting For The Green Light
Getting Into The Weeds On Massachusetts’ Pot Bill
“Any nutrients are going to go right to the flower and this does stress the plant out a little to remove all its leaves,” he said. “But what does a cannabis plant do when it’s stressed? It creates more trichomes, more resin to keep away intruders.”
The second requires more finesse. You have to go in and cut the leaves close to the bud. Some people like to do all their trimming at once, others wait to do the second trim until after the marijuana has been dried. Speaking of which …
Dry It
When marijuana is first harvested it is supremely sticky, too wet to smoke, and contains immature THC. The best way to dry fresh weed is to take the branches and hang them, upside down, on a clothes line in a cool (65-67-degree), dark place. It will usually take about seven to 10 days for the marijuana to correctly dry. What you’re going for are buds that aren’t too wet or too dry. A good way to tell if the weed is just right is to examine the stalk. If it bends, doesn’t break, and feels a bit stiff, you’re good to go on to the next step. If it snaps, you let it dry too long. If you can tie it in a knot, you’ve got more drying to do. Never try to rush the drying process. No sunlight and no fans because it dries the outside while leaving the inside damp, Klein and Parzybok said.
 “The buds should be dry so that when you squeeze buds, they come back to their original shape,” Klein said. “They should not be crispy.”
The drying process is a tricky time for the cannabis cultivator because the threat of your pot getting moldy and winding up useless is real. Mold on weed primarily comes in two forms: powdery white on the outside of the flower, and brown grunge, “bud rot,” on the inside.
“I really struggled with bud rot this year,” Klein said. “I probably threw out most of one plant, which was the equivalent of about 6-7 ounces. It was hard to do, but it’s toxic and you can’t do anything with it.”
The powdery white mold can be cleaned from weed with an application or two of very diluted hydrogen peroxide. Bud rot, however, needs to be thrown out — and quickly — before it spreads to any other pot. To avoid mold at this stage of the game, make sure the humidity in the space you’re drying your weed is under 68 percent, and that, while your marijuana dries, it does not touch anything — walls, other weed, fabric, etc.
“It’s better to over-dry than to under-dry,” Parzybok said. “It’s not the end of the world if the bud itself is crumbling and broken or if you under-dry and it smells like hay, that’s not the end of the world either, though your buddy who’s a connoisseur will be disappointed.”
The Second Trim
Break out the scissors and pruning shears; it’s time for the big trim. Parzybok is a fan of using tools made for bonsai trees.
“I love using the Japanese bonsai tools. It sounds really fancy, but they’re just standard shears — old school, very plain.”
But just about anything will do, as long as it doesn’t have a spring loaded handle — you’re going to be cutting for a long time, don’t strain your hand struggling with a spring. In the finesse trim, you’re looking to remove leaves large and medium.
“If I have a lot of leafy material along the buds, I’ll kind of cut those [leaves] in half so I’m left with stubby green around the buds themselves,” Klein said. “I trim as close as possible to the buds to get rid of that green, it has the chlorophyll in it and that tends to make the smoke a little harsher. The more leaves removed, the better the final smoke will be.”
Save your trim, shake, pebbles or whatever you call the bud bits and kief, for making cannabis butter or oil later. This may be the most difficult step in the whole harvesting process because of gunk build-up. As you snip your weed your hands and tools will quickly become covered in sticky weed. Use a sharp knife to remove as much of the gunk from your tools as you can — and smoke it! That’s some sweet hash. To clean your hands and tools, use rubbing alcohol or cooking oil. Water and soap barely touch the mess.
“I talked to a couple of guys the other day who had been harvesting,” said Klein. “They got like 20 grams, off the scissors, of hash — that’s a big grow, man.”
Cure It
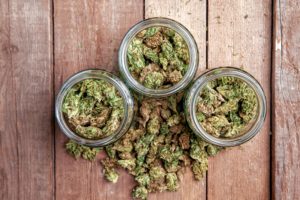
Now comes the last test of your patience — curing your weed. Curing is a necessary step in cultivating the highest quality cannabis, though it can be skipped if you’re eager. Curing allows more time for bacteria to break down harsh chlorophyll and replace some of the moisture lost during drying. To cure weed, put the buds in a tightly sealed glass jar (mason jars work well for this) and store it in a cool, dark place. You’ll need to “burp” the marijuana every day or every few days. This means opening the lid and letting the weed breath for about 15 minutes before closing it back up. This goes on for about 30-45 days.
Smoke, etc.
Finally! Six months after you planted your marijuana seeds it’s time to enjoy the kind fruits of your labor. Keep your weed in jars and the supply should stay fresh for about six to eight months — after that, the weed is considered old and the power it packs begins to fade, but your stash is still completely enjoyable. If you want to make sure the humidity in your jars stays even, you can buy some humidity control packets and put one in each jar. The packets look a bit like individual sugar packs and can be bought at just about any weed grow store.
 Since this October is likely to be the first large-scale harvest since growing marijuana became legal — there’s going to be a lot of weed around, in some cases, too much, Parzybok noted. He’s a proponent of allowing home growers to sell their pot — something that is now illegal. Only retailers licensed by the state are allowed to sell marijuana.
“Making it illegal for people to sell their own cannabis preserves the black market. People are willing to buy it and it’s a valuable product,” he said. “If regulators allowed those home growers to analyze their cannabis and sell it to a dispensary, properly, it would increase the diversion of weed [from] the black market.”
Right now, the only legal thing a person can do with their excess is turn it into oil — which stores for longer than flowers alone (2 grams of weed per 1 ounce of oil is a good ratio for making your own canna-oil, Parzybok said) — throw it out, or give it away. FYI, weed makes a great gift. If you did your grow right, and have a lot of funky people in your life, your holiday shopping could be done already.
Kristin’s not here, man, but you can contact her at editor@valleyadvocate.com.


